
From upload to download
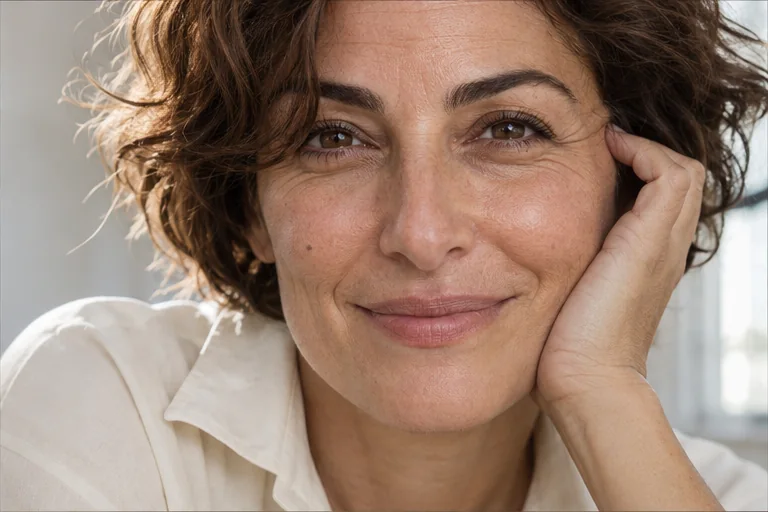
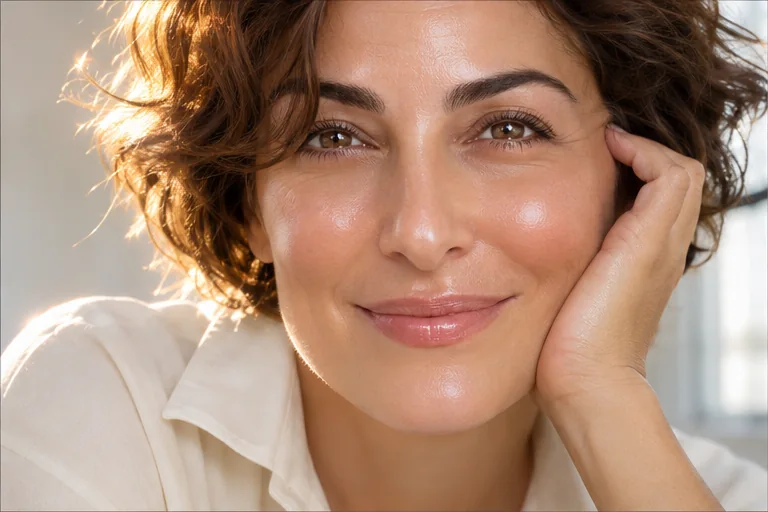
- Upload a reference image. Start with the original generated image. For a portrait, identify one feature that looks synthetic, such as a broad glossy highlight across the forehead. Leave believable details alone.
- Choose the edit. Review the prefilled instructions or select the narrower preset. Choose the model, quality and aspect ratio, then check the credit quote before starting.
- Compare and download. Compare the shape of the eyes, jaw and smile at the same zoom. On a product shot, check the printed label, outline and position of the shadow before keeping the edit.
How to humanize AI images with uneven light
Look at the nose shadow, the catchlight in each eye and the shadow where the subject meets the floor. If those cues disagree, choose Lighting only and name the light you want to keep. For example, ask to keep the window light on the left and soften the bright outline around the hair.
Using the AI image humanizer on a portrait
An AI photo humanizer can treat a single patch of shine without asking for a new portrait. For a headshot, target the shine on the forehead or cheeks in the editable instructions. Keep existing freckles, fine lines and the shape of the smile. Compare both versions at profile-picture size, then zoom in on the eyes and hairline. If identity shifts, go back to the source and request a narrower change.
Humanize a picture of a product
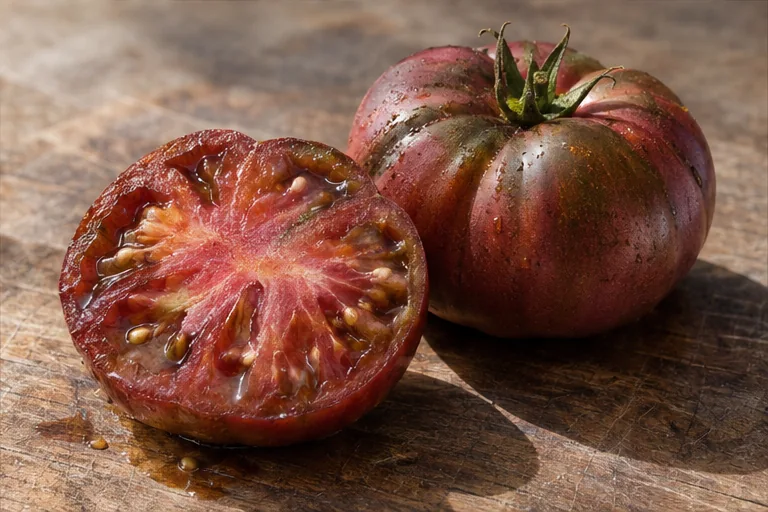
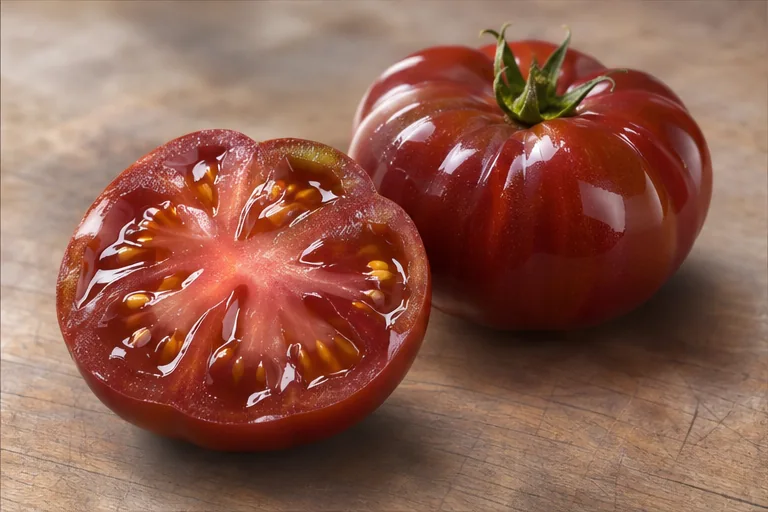
Name the material and the surface that looks wrong. For a ceramic cup, soften the mirror-like glaze while keeping the handle, lettering and shadow intact. For food, ask for less gloss on the bun while leaving the ingredients and their positions alone. Check labels against the source before publication.
Frequently asked questions
Will my face and composition stay the same?
A humanized picture is still an AI-edited image. Fine texture is an interpretation. A new rendering can change facial features, lettering or small objects.
Which files can I upload?
Upload one JPG, PNG or WebP image up to 7 MB per edit. Use a still frame for a video source.
Can I try it for free?
You can read and edit the instructions before signing in. Generating one image requires a signed-in account with paid credits. There are no free signup credits.
How much does an edit cost?
The workbench shows the credit cost for the selected model and quality before you generate. Each new version is a separate edit; failed tasks restore credits.
What happens to the photo?
Your uploaded reference is private to your account. Anyone with the generated image link can open that output. Download a copy if you want to keep it.
How do I check the result?
Compare the shape of the eyes, jaw and smile at the same zoom. On a product shot, check the printed label, outline and position of the shadow before keeping the edit.