
How to write AI image prompts: structure and examples
Write clearer AI image prompts with a subject-first structure, practical examples and focused revisions. Learn what belongs in the prompt or settings.
 Yix Team
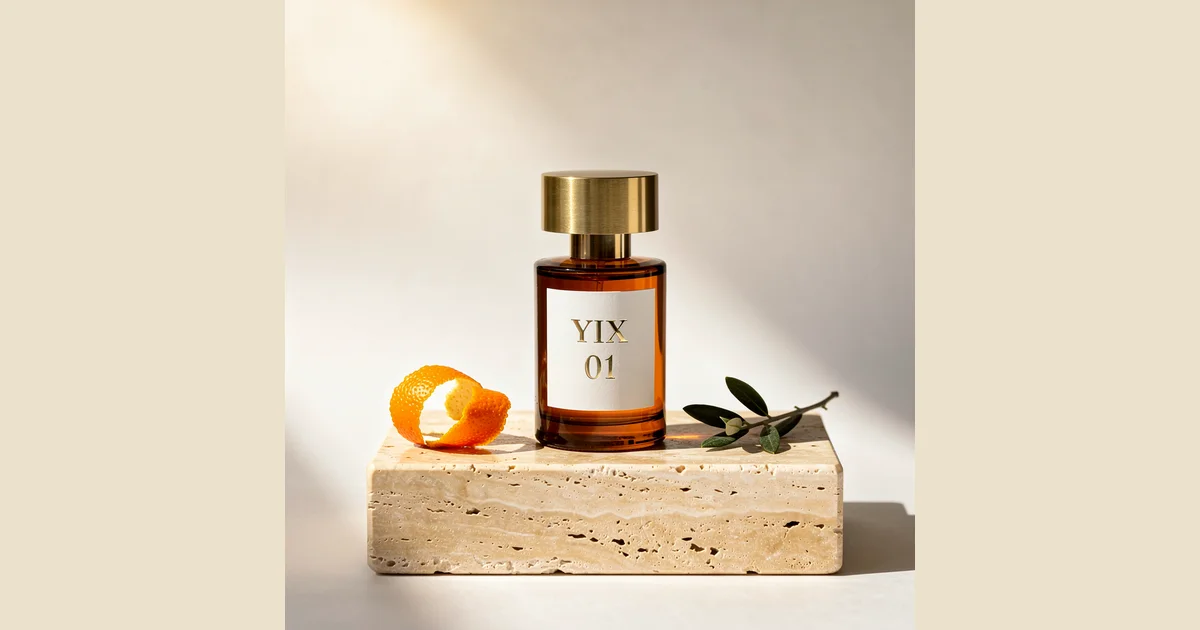
To write an effective AI image prompt, name the subject, describe the scene and composition, then specify lighting, style and any essential constraints. Use details you can check in the result. Generate one version, identify the largest mismatch, and revise that part of the prompt before adding more instructions.
A practical AI image prompt structure
Subject + action or position + setting + composition + lighting + style + essential details is a useful starting structure. It is a writing checklist, not a required syntax or a guarantee that every model reads instructions in the same way.
- Subject: Name the person, object or scene, including the number of important subjects.
- Action or position: Say what the subject is doing and where it sits in the frame.
- Setting: Describe the background and nearby objects that matter.
- Composition: Specify the viewpoint, framing and space needed for a later layout.
- Lighting: Describe a visible source and direction, such as soft light from a window on the left.
- Style: Name the medium, such as a photograph, pencil drawing or flat illustration.
- Essential details: State the text, shape or feature the result must preserve.
Adobe's prompt-writing guide recommends descriptive, specific language. Midjourney's guidance favours short, clear descriptions over long instruction lists. Adapt the structure to the tool you are using.
Build the prompt one decision at a time
Start with “a ceramic mug.” Add the scene: “a red ceramic mug beside a closed notebook on a pale wooden desk.” Then add the layout and light: “mug on the right, empty space on the left, soft morning light from a window.”
Each addition resolves a visible choice. If a detail will not affect whether you accept the result, it may not need to be in the prompt. Remove contradictory instructions such as both a close-up crop and a full room view.
Examples you can adapt
These are original practice prompts. They illustrate different briefs; they are not presented as tested outputs.
Product photograph
A studio photograph of one matte blue ceramic mug on a pale wooden desk beside a closed cream notebook. Place the mug in the right half of the frame and leave the left half clear for a headline. Soft window light from the left, visible ceramic texture, eye-level view, no logos or lettering.
Use the generator's aspect-ratio control for the intended layout. If this must show a particular mug, supply its photograph through an editing or reference workflow and inspect the handle and silhouette afterwards.
Editorial illustration
A flat editorial illustration of an adult learning to draw at a kitchen table. Show a sketchbook, a pencil and a small potted plant. Use muted blue and warm cream, simple shapes and a quiet domestic setting. Keep the upper quarter uncluttered for a title. No text inside the illustration.
This prompt separates the illustration from the title you will add later. Keeping important wording editable in a design tool can make a poster or slide easier to revise.
Poster with short text
A minimalist poster for a fictional evening pottery workshop. A single clay bowl sits in the lower half against a warm cream background. At the top, include only the exact words "POTTERY NIGHT" in large dark blue lettering. Clear spacing, soft side lighting, no additional words or symbols.
Check every letter after generation. Short text and explicit placement reduce ambiguity, but they do not guarantee correct typography. Add the text in an editor if the wording must be exact.
What belongs in the prompt, and what belongs in settings?
| Decision | Where to start |
|---|---|
| Subject, scene and visual style | Prompt |
| Exact wording and placement | Prompt, followed by manual inspection |
| Aspect ratio and output size | Generator controls, where available |
| Model and quality level | Generator controls |
| Existing subject to preserve | Reference upload or image-editing workflow |
| Negative prompt | A dedicated control only if the selected model supports it |
“4K” in a sentence does not establish the dimensions of the downloaded file. Likewise, a parameter copied from another application may be treated as ordinary text. Check the controls and help for the actual tool.
Revise the mismatch, not the whole scene
When the result is close, name the remaining problem. “Move the mug to the right and keep the left half empty” is easier to assess than “make it better.” Save the first result so you can check whether the revision improved the composition or merely changed it.
In our documented product-photo experiment, the first prompt left the bottle shape and stone height ambiguous. A correction specified a cylindrical bottle, a broad low cap and a shallow slab. The page shows the actual outputs and remaining differences.
If you start with a picture, Image to Prompt can help describe its visible content. Compare the description with the source and add any important detail it misses. Extracting a prompt does not recover the original prompt or reproduce the image exactly.
Turn the prompt into an image
Use the AI image generator comparison to choose a workflow, or open Yix to select a model and paste your prompt. Yix image generation needs sign-in and credits; check the quote before submitting. For realistic subjects, use the photo-quality checklist to judge the result before another attempt.