
Best AI image generator for realistic photos
Choose an AI photo generator by subject, reference editing and lighting control. Use a real product-photo example and a practical realism checklist.
 Yix Team
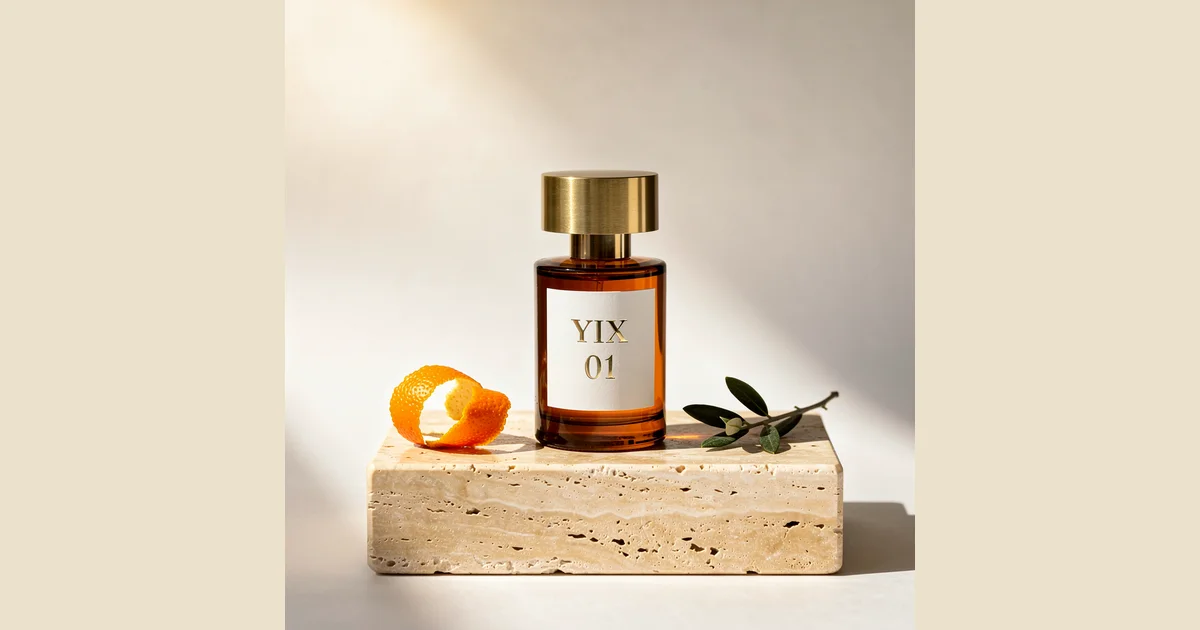
The best AI image generator for realistic photos depends on the subject and the edits you need. FLUX is worth considering for product scenes, Gemini for reference-based revisions, and Midjourney for exploring photographic styles. Compare skin, geometry, lighting and important details at the same viewing size before choosing a result.
AI photo generators by task
- FLUX — for product scenes and reference-guided composition: Black Forest Labs describes FLUX.2 as supporting photorealistic generation and multi-reference control. It is a relevant option when object shape and placement matter.
- Gemini — for revising a scene with an image and written instructions: Google's image help covers generating and editing images. Check whether the revision preserves the subject you supplied.
- Midjourney — for exploring a photographic look: Style References can guide the appearance of new images. Describe the subject separately from the look you want.
- Yix — for comparing available models on your own brief: Choose a model in the generator, review its settings and credit quote, then inspect the output against the same subject requirements. Yix is the publisher of this guide and requires sign-in and credits for generation.
These are workflow-based choices, not a universal photorealism ranking. A tool can produce a convincing landscape and still change the label on a product or the features of a person.
What makes an AI photo look realistic?
Realism comes from a consistent scene: plausible light, believable surfaces, coherent geometry and details that fit the subject. High resolution helps you inspect the image, but it does not fix a contradictory reflection or an incorrect hand.
| Subject | Inspect first | Common reason to reject the result |
|---|---|---|
| Portrait | Eyes, teeth, hands, hairline and skin texture | Identity drift, merged fingers or overly smooth skin |
| Product | Silhouette, cap, label and contact with the surface | Changed packaging, invented text or a floating object |
| Interior | Doorways, furniture legs, perspective and mirrors | Impossible geometry or inconsistent reflections |
| Landscape | Light direction, distant detail and repeated patterns | Conflicting shadows or obvious repeated textures |
Inspect at the final display size and then zoom in on the important region. A portrait for a small avatar and a product image for a detailed listing have different tolerance for defects.
A real product-photo comparison
Our perfume-photo case study compares actual Yix outputs from Nano Banana 2, FLUX.2 Pro and Seedream 5 Lite. The fictional product, prompt, settings and revisions are documented on that page.
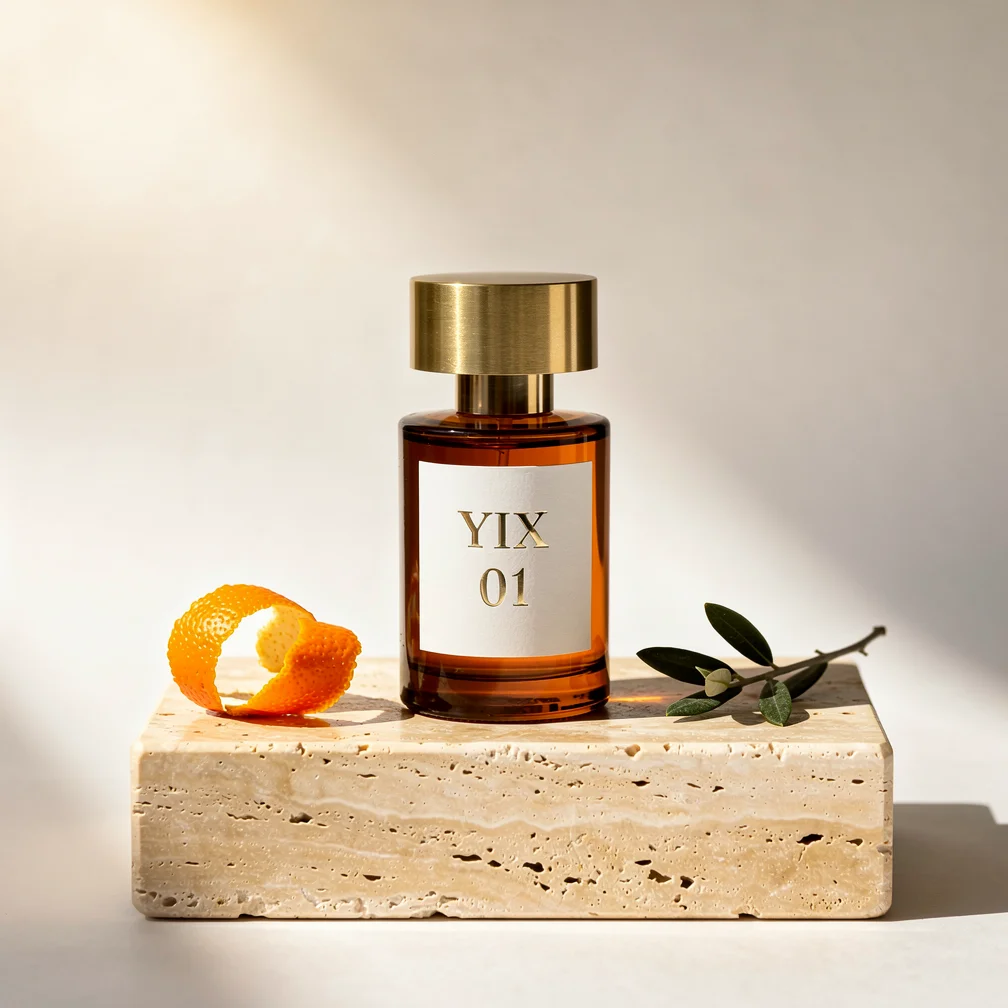
An actual Yix FLUX.2 Pro result from the September 22, 2026 case study. The perfume is fictional; this is an AI-generated image.
The first FLUX result kept the round bottle and two-line label, but changed the cap and made the stone base too tall. A revised prompt brought the arrangement closer to the brief. This is why we inspect geometry before judging the mood of a product image.
The comparison used different output resolutions and one first attempt per model. It cannot prove which model is generally most realistic. It can show you what to inspect and how a specific correction changed one result.
Write a prompt with visible photographic details
Describe the subject, position, light and surface. Replace a phrase such as “extremely realistic, perfect quality” with details you can judge in the output.
A realistic studio photograph of one amber glass perfume bottle with a wide, short metal cap. The bottle stands on a low pale stone slab. Soft window light enters from the left, with a gentle contact shadow beneath the bottle. Eye-level view, neutral background, empty space above the product, no added props or lettering.
This is an original example prompt, not the prompt used for the pictured case-study result. Adapt it to your subject and choose the aspect ratio in the generator's controls. Writing a resolution in the prompt does not set the exported pixel dimensions.
For an existing product or person, use a reference-image workflow when preservation matters. State what may change and what must stay, then compare the result with the source. A reference guides generation; it does not guarantee an exact copy.
Improve the image without losing the brief
Fix the largest mismatch first. If the bottle shape is wrong, refine its shape before adding texture adjectives. If the subject is correct but the image feels artificial, inspect the light direction, surface texture and depth of field.
Keep a copy of the prompt and result for each revision. Change one meaningful constraint at a time when possible. Upscaling comes after selecting a composition; it cannot reliably repair an incorrect package or identity.
For broader tool selection, read the AI image generator comparison. For a no-payment workflow, start with the free-options guide. The prompt guide explains how to turn the details you notice into a clearer next instruction.