
AI zombie trend: make an original non-gory portrait, then plan a short clip
Create a non-gory zombie portrait from a reference photo, preserve key details and plan a short video. Includes an original prompt and clear template limits.
 Yix Team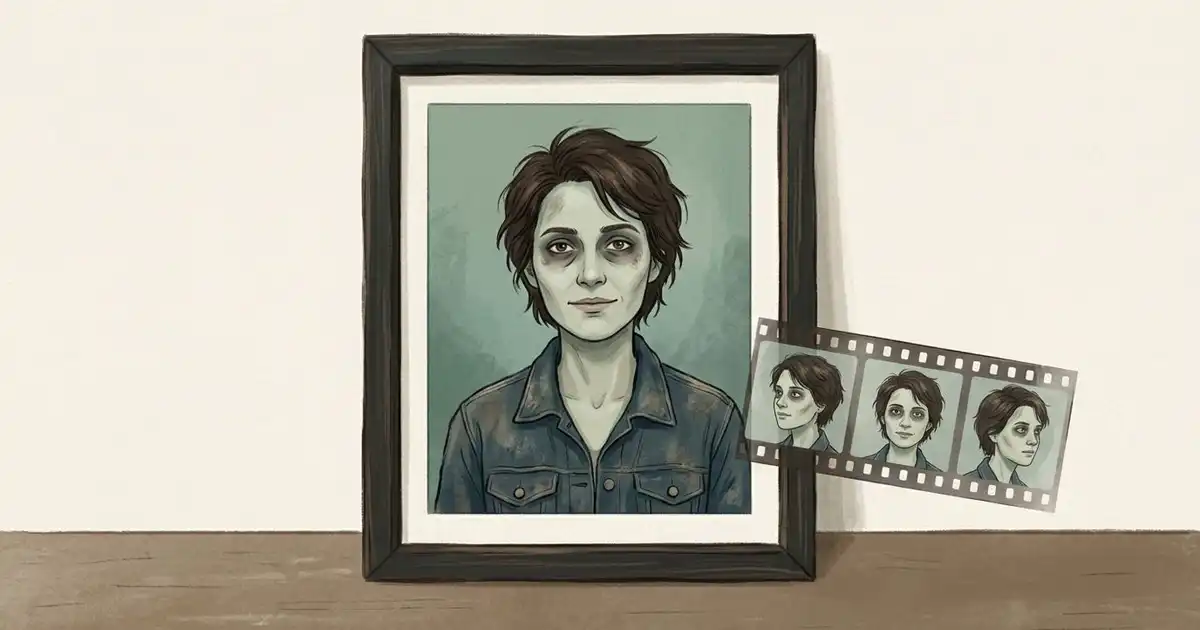
For an original AI zombie trend image, start with one clear reference portrait, describe a non-gory costume transformation, and check the edited face before adding motion. A photo edit gives you a still image. A short animated portrait is a second step; a multi-scene story needs additional shots and editing.
Some services package a specific sequence as a template. On October 11, 2026, Media.io's Viral Zombie Trend page offered an image-upload and generation interface. We inspected the public page without submitting a generation. The manual workflow below is an alternative for an original portrait; it does not reproduce that template, its storyline or its output.
Cover: an Imagen-generated illustration of a fictional adult in mild zombie-style makeup beside a short film strip. It is concept artwork, not a result produced by the editing steps below.
Decide what you want to make
| Output | Start with | What the step can establish |
|---|---|---|
| One zombie-style portrait | A clear reference photograph | Makeup, costume and atmosphere in a still image |
| A short moving portrait | An approved edited still | A small action or camera movement to inspect |
| A story with a reveal or several characters | A shot plan and suitable references | Separate scenes that must be checked and assembled |
| A provider's named template | That provider's current template page | Its specific input requirements and paid workflow |
Do not assume that a prompt for a single picture also creates a complete story. Nor does a download button or a template marked free establish that every generation or export is free. Yix shows the relevant credit cost before an edit; other services set their own terms.
Prepare a reference that makes comparison easy
Use a portrait you own or have permission to edit. A fictional adult character is also a straightforward starting point. Keep an untouched copy and choose an image with a visible face, even lighting and enough space around the head and shoulders. A heavily filtered or tiny face makes it harder to tell whether the edit preserved the intended person.
The Yix image editor accepts JPG, PNG and WebP reference files up to 7 MB. Wait for the upload preview before continuing. If you need to reduce the file size, work on a copy and check that the eyes, hairline and clothing details remain visible.
Write down three or four features that should stay fixed: face shape, hairstyle, jacket silhouette and camera framing, for example. Then describe the changes separately. This makes the prompt easier to evaluate than a request to make everything cinematic at once.
An original non-gory prompt
The following is an original, untested brief for a fictional adult portrait. Replace the clothing details to match your reference; the instruction is a request to the model, not a guarantee of identity preservation.
Edit this reference portrait into a restrained, non-gory zombie costume portrait. Preserve the adult subject's facial proportions, hairstyle, eye direction, dark denim jacket and head-and-shoulders framing. Add subtle pale green-grey theatrical makeup, slightly tired eyes and light dust on the jacket. Keep the skin intact, the expression quiet and the background simple. Use soft overcast light with natural facial detail. No blood, wounds, exposed bone, weapons, extra people, text or logos. Change the makeup and atmosphere while keeping the reference composition recognizable.
For a lighter result, replace “pale green-grey theatrical makeup” with “subtle cool-toned Halloween makeup.” For a moodier background, ask for a softly blurred empty street. Change one instruction at a time so you can see which revision affected the result.
Check the still before animating it
Open the selected editor from the card, confirm Nano Banana 2, and add your reference. Paste the adapted prompt, choose the available output settings, and review the displayed cost. Sign in if required. Opening the card alone does not spend credits; submitting a generation is a separate action.
Compare any generated result with the original at full size. Look first at the face outline, eyes, hair and teeth, then at hands if they are visible. Check jacket seams, accessories and the edges around the head. A persuasive overall style can hide a changed face or an extra object.
If something important moved, return to the original reference and narrow the edit. For example: “Keep the face and clothing unchanged; adjust only the makeup color and background lighting.” Repeatedly editing an already altered output can carry earlier changes into the next result. Keep the version that best preserves your requirements rather than choosing the most dramatic one.
The reference-photo prompt guide covers more ways to separate a subject from the requested edit. Neither guide guarantees a perfect likeness, a particular generation count or social reach.
Optionally turn the approved still into a short clip
Once the image is acceptable, save it and use a video tool that explicitly supports an image reference. On the Yix video page, inspect the selected model's current input mode and settings before submitting. Image-to-video availability, duration and cost depend on the model; a general text-to-video selection is not the same task.
Start with one restrained motion rather than a complicated action sequence. An original, untested motion brief is:
A quiet head-and-shoulders portrait. The fictional adult slowly turns their head a few degrees and blinks once. A light breeze moves a few strands of hair. Keep the facial features, costume and background consistent, with a fixed camera and gentle natural motion. No scene cuts, additional people or new objects.
Inspect the whole clip, including its first and last frames. Watch for face changes, unstable eyes, moving jacket details or a background that bends. If a story needs an introduction, reveal and ending, plan those shots separately and assemble accepted clips in an editor; the FilmCraft guide explains that editing stage.
We have not run a paid photo or video generation for this guide. The prompts are starting points to adapt, and the cover is separately generated concept art. A useful first result is one you can compare and revise without losing the reference details that matter.