
Qwen Image 2.1 Turbo: a practical generation and editing guide
Get started with Qwen Image 2.1 Turbo: official downloads, the eight-step setup, ComfyUI files, practical prompts, editing checks and license terms.
 Yix Team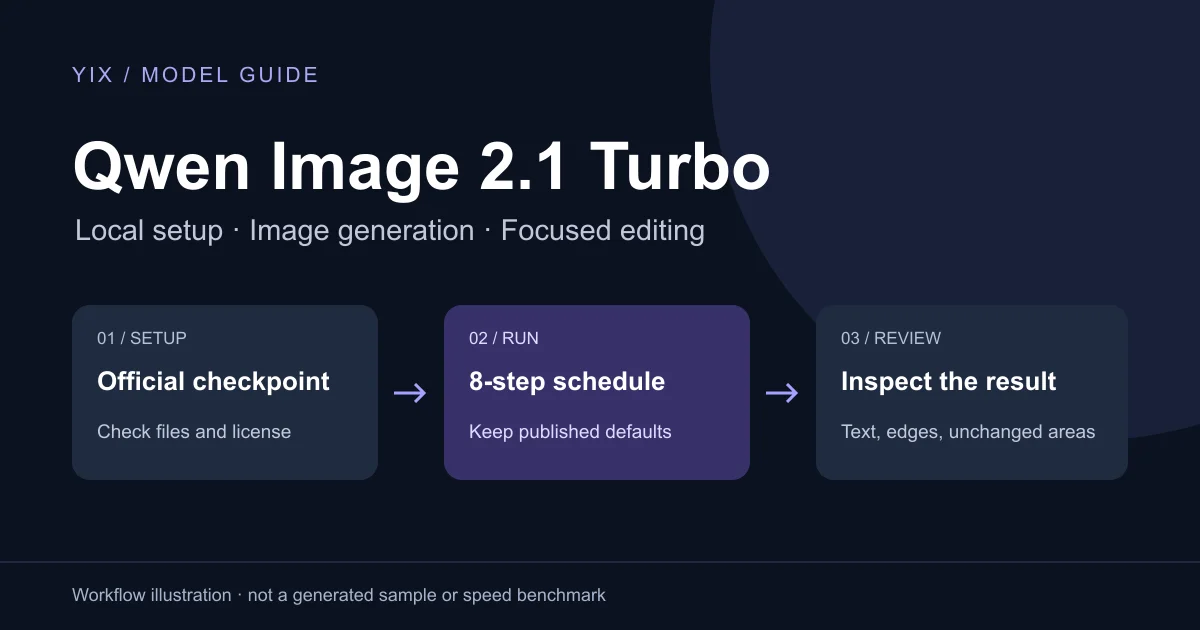
Cover: an original workflow illustration, not an image generated by the model.
Qwen Image 2.1 Turbo is Qwen's accelerated image-generation and editing checkpoint. The official model card identifies a 7B visual model with a saved eight-step sampling schedule and CFG 1 by default. Start with that configuration. Changing an older workflow's step count to eight does not reproduce the complete Turbo setup.
This guide covers downloading the correct checkpoint, choosing a local workflow, writing a first prompt and checking an edit. The prompts below are original practice briefs, not images or benchmarks produced by Yix.
Download the right model
Use the publisher's Qwen-Image-2.1-Turbo repository, including its setup instructions. Keep the full name in your notes: a community acceleration LoRA, the base Qwen-Image-2.1 checkpoint and the official Turbo checkpoint are separate downloads.
Before downloading large weights, decide which program you will use. Diffusers loads the repository as a pipeline. ComfyUI uses repackaged files and a node workflow. Mixing instructions between the two can leave you with files that your chosen loader does not recognize.
The Qwen Research License limits the supplied materials to non-commercial research or evaluation; commercial use requires a separate license. Download access alone is not permission to operate a commercial image service. Read the terms before using the weights for client work or a paid product.
Start with the published Diffusers setup
Qwen's setup requires a CUDA-compatible PyTorch installation, a recent Diffusers source build and Transformers 5.17.0 or newer. The model card links the required Diffusers change for loading the checkpoint's sampling configuration. Use its installation section rather than an old Qwen Image tutorial.
For your first run, follow the model card's text-to-image example, load Qwen/Qwen-Image-2.1-Turbo with QwenImage21Pipeline, and replace only the prompt. Keep a supported resolution, the saved schedule and the default guidance. Save the resulting image before experimenting.
Do not change the scheduler, precision, prompt and resolution together. If the result deteriorates, you will have no useful baseline. Record the checkpoint revision and software versions alongside the first successful image so you can return to that setup later.
The card states that setting num_inference_steps alone does not replace its saved schedule. An explicit sigmas argument does, but alternative schedules are not evaluated there. Leave that override out of an initial test.
Using ComfyUI without guessing the files
Comfy-Org's model page provides the repackaged weights and links to maintained text-to-image and editing templates. It lists the full Turbo checkpoint and a separate Turbo LoRA extraction. Choose one path and follow its matching workflow.
| File type | ComfyUI folder | What to check |
|---|---|---|
| Turbo diffusion weights | models/diffusion_models | The selected filename contains qwen_image_2.1_turbo |
| Qwen3-VL text encoder | models/text_encoders | Use the encoder named by the workflow |
| Qwen Image 2.1 VAE | models/vae | Select the matching decoder |
| Optional extracted Turbo LoRA | models/loras | Use only with the documented base-model route |
Both the maintained text-to-image template and the image-edit template currently load the base checkpoint at 25 steps. They help explain the node layout, but are not ready-made Turbo workflows. Inspect the model and sampling nodes after import. For an exact starting point with the saved eight-step schedule, use the published Diffusers route above.
In the October 9 release discussion, readers asked for simpler local setup and reported differences when changing guidance. Those are individual reports, not a reliable universal settings recipe. A maintained template is a better baseline than combining unrelated comment-thread suggestions.
A first prompt you can inspect
Try a small poster with a single required line of text:
A square poster for a neighborhood repair workshop. One red desk lamp on a pale gray workbench, viewed straight on. At the top, print exactly “FIX IT SATURDAY” in large black lettering. Keep the lower third empty. Soft window light, realistic metal and fabric, no extra words.
This is an untested example. Its purpose is to make mistakes easy to spot. Check the spelling, the empty lower area and the lamp's shape. A busy scene with several paragraphs of lettering makes diagnosis harder.
If the layout is wrong, change the layout sentence first. If the words are wrong, simplify the typography and reduce competing text. Keep the seed and dimensions fixed while revising the brief. Use a new seed only after you understand which instruction you are testing.
Edit one thing and name what must stay
Keep the original image, then try:
Change only the red desk lamp to dark blue. Preserve its shape, position, metal reflections, the workbench and all lettering. Keep the framing and lighting unchanged.
Use the editing workflow with the source image attached. Compare the downloaded output against the original at the same size. Inspect the lamp, its edges and the poster text. A convincing blue lamp still fails this brief if the title has changed.
For repeated edits, compare each result with the original as well as the previous step. Stop and return to the original if detail drifts. For exact lettering, final typesetting in a layout editor remains a useful finishing step. Our image-to-image guide explains the broader editing workflow; its available models are separate choices from this local Turbo setup.
How to compare Turbo with the base model
Eight steps describes sampling, not seconds on your computer. Download time, model loading, text processing and image decoding also affect the wait.
| Comparison | Keep consistent | Record separately |
|---|---|---|
| Generation speed | Hardware, image dimensions and prompt | First run versus warmed-up runs |
| Editing quality | Source image and requested change | Unwanted changes outside the target |
| Text accuracy | Exact wording and layout | Misspellings and extra words |
| Useful output | Same number of attempts | Accepted images and rejected attempts |
Use each checkpoint's recommended configuration, record the differences, and repeat the same small task. A faster rejected image is still a rejected image. Keep the version that meets your brief, and retain the settings with the accepted output.