
Pruna AI Playground: choose a task and prepare your reference images
Find Pruna’s official image tools, distinguish generation, editing and upscaling, and prepare reference photos with clear change and preservation instructions.
 Yix Team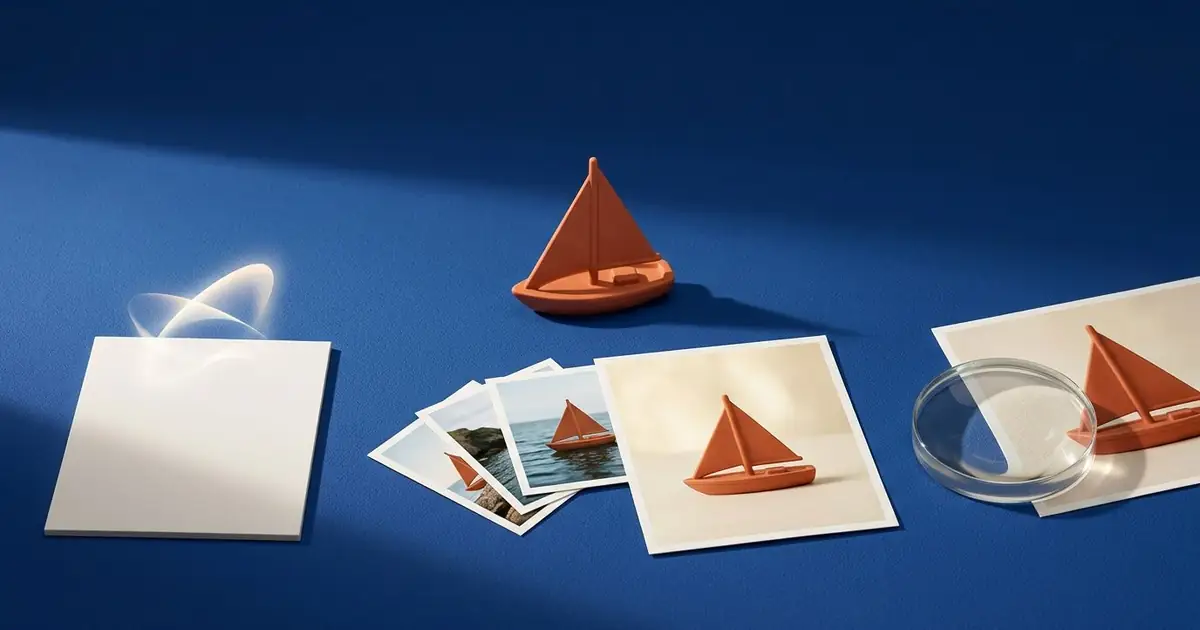
Looking for the Pruna AI Playground? Pruna's official documentation links to its general Playground; its separate Performance Model Demos directory offers task-specific interfaces. For the reference-photo workflow in this guide, the relevant demo is Chat Image Edit, which presents an image upload, a message box and model settings.
We checked that demo's visible controls and the official documentation on October 10, 2026. We did not submit an image or run a generation. The demo itself describes its scope as a quick demonstration rather than an integrated product; this guide does not assume that its controls, limits or account arrangements are identical to the main Playground.
Cover: an Imagen-generated illustration of image-task choices. The sailboat prints are not Pruna screenshots or tested model outputs.
Which official entry should you use?
The main Playground is the general entry linked from Pruna's documentation. The demo directory groups individual experiments, including Chat Image Edit, Image Merger, Virtual Staging and other workflows. Read each demo's description before opening it: a task-specific interface may expose fewer options than a model's documentation.
The model documentation answers a different question: what inputs and behavior the model is designed to support. It can help you choose a task, but it does not establish the free allowance, paid quota or available controls of every browser demo. Keep the model description and the interface you are actually using separate.
Choose generation, editing or upscaling
| Your starting point | Relevant Pruna model | What to decide first |
|---|---|---|
| An idea with no source picture | P-Image | Describe the subject, setting, composition and desired format. |
| An existing picture with something to change | P-Image-Edit | Identify the change, its target and what must remain. |
| A finished image you want to enlarge or refine | P-Image-Upscale | Choose the final size and inspect whether added detail remains faithful. |
These are model roles, not a promise that all three appear in one page. Pruna's upscaling guide recommends using that step after the composition or edit is settled. Enlarging a picture does not resolve the earlier question of whether the object, lettering or background is correct.
The upscaler documentation also notes that realism enhancement can move further from the original image. For a product photo or a small line of text, inspect the result rather than assuming that more apparent detail means greater accuracy. Keep the original so you can compare it at the same display size.
Prepare reference images with clear roles
The P-Image-Edit documentation describes one to five reference images. That is a documented model capability, not a verified upload limit for every demo. In the Chat Image Edit interface we inspected, start from its image-upload control and follow the choices it actually offers.
Before uploading, choose the picture that defines the main subject. If you plan to use more references in an interface that supports them, give each one a purpose: subject identity, background, material or visual style. Several almost-identical images add little clarity if your instruction never says which details matter.
A simple preparation checklist is:
- Keep an untouched copy of the source image.
- Choose a frame where the object and the part you want to change are visible.
- Remove unrelated screenshots or alternate versions from your reference selection.
- Write down one intended change and two or three details that must remain.
- Check the actual upload constraints and usage terms in the service before submitting.
Pruna's editing guide organizes instructions around the modification, the target and preservation requirements. Naming the target is useful when the image contains several similar objects. “Change the small orange sailboat” leaves less ambiguity than “change it.”
An original reference-editing brief
Suppose the reference shows an orange toy sailboat on a blue tabletop. An initial brief could be:
Replace the blue tabletop with a pale cream studio surface. Keep the orange sailboat's shape, sail angle, position and framing. Preserve the soft shadow beneath the boat. Do not add text or extra objects.
This is an original, untested example. It asks for one main change and identifies what to preserve; it does not guarantee that a model will obey every detail. After receiving a result, compare the hull, mast, sail edge and shadow with the source. If one feature changes, make the next instruction about that feature instead of rewriting the whole scene.
Follow the Chat Image Edit interface
The visible workflow is an image upload followed by a message describing the change. Its Model Settings section separates the generation model from the editing model. Check the editing selection when modifying a reference; a text-to-image choice elsewhere on the page is not the same task.
The demo says successive edits build on the previous image. That can help with focused corrections, but it also makes the starting point important. If an earlier edit already changed the subject, consider returning to your original reference before continuing. Save useful intermediate results under distinct filenames so you can tell which one you are evaluating.
We verified the interface, not successful inference, output quality or billing. Review any account, allowance and cost information shown at the point of use. A price in model documentation or settings does not establish a free browser allowance, and this guide makes no unlimited-use claim.
Check the result before the finishing step
Look at the requested change first, then the details that were supposed to remain. For text, read each character. For an object, inspect its outline and proportions. Compare full images at equal size before zooming into detail. Upscale only after deciding which edit you want to keep.
If you need help preparing a more precise brief, Yix's reference-photo prompt guide explains how to separate the subject, change and preservation requirements. For recovering a description from an image, see Image to Prompt. Those are separate Yix workflows; this article does not offer P-Image-Edit inside Yix.